Unlock the Secrets of Orchid Propagation Using a Banana Peel: A Simple Guide for Home Enthusiasts
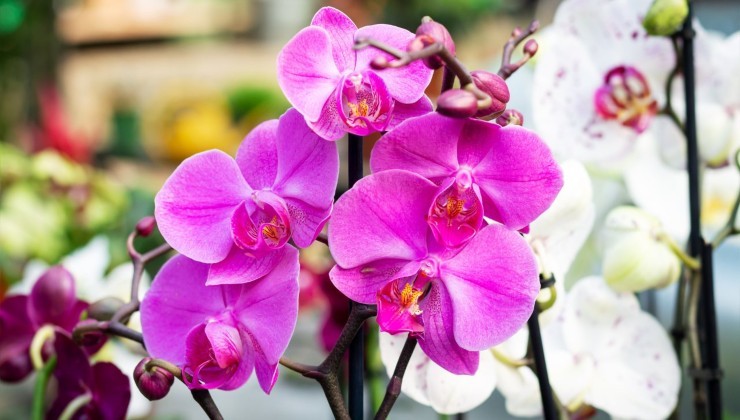
Orchids, renowned for their aesthetic allure, elegance, and sophistication, stand out as some of the most refined houseplants. Despite their minimalist nature, these flowers possess the unique ability to infuse vibrancy and beauty into any space.
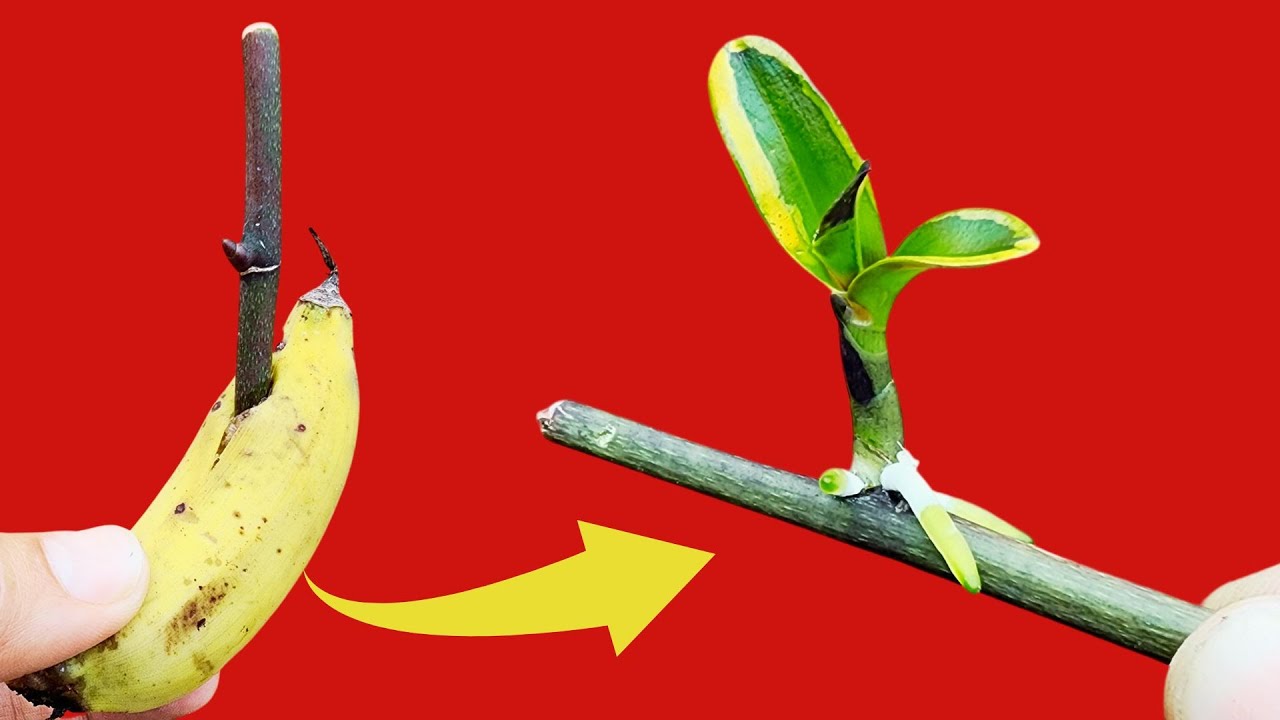
While their care demands a modicum of attention, propagating orchids at home is surprisingly achievable with a few natural ingredients and a touch of patience. Let’s delve into the step-by-step process of propagating orchids using a banana peel.
Home Orchid Propagation Demystified
Embarking on orchid propagation indoors may seem daunting, but fear not—it’s a straightforward endeavor requiring only a withered orchid branch, a small banana, ground cinnamon, a garlic clove, some moss, a candle, a plastic bottle, and water. The process is uncomplicated, demanding only a bit of time and patience to witness the orchid taking root.
Begin by selecting a branch for propagation, preferably one without flowers or buds. Cut it from the main plant and trim the ends until the vibrant green interior is exposed.
This sprig will serve as the foundation for your new orchid plant. Now, peel a garlic clove and use it to secure the sprig’s ends. Massage the green sides of the branch thoroughly with the garlic clove to prevent mold or fungi growth and deter rotting.
Next, light a candle and use the flowing wax to seal the branch’s ends. This might seem counterintuitive, but it aids in preventing water loss from the branch. With the branch primed for propagation, it’s time to move on to the procedure itself.

The Propagation Process
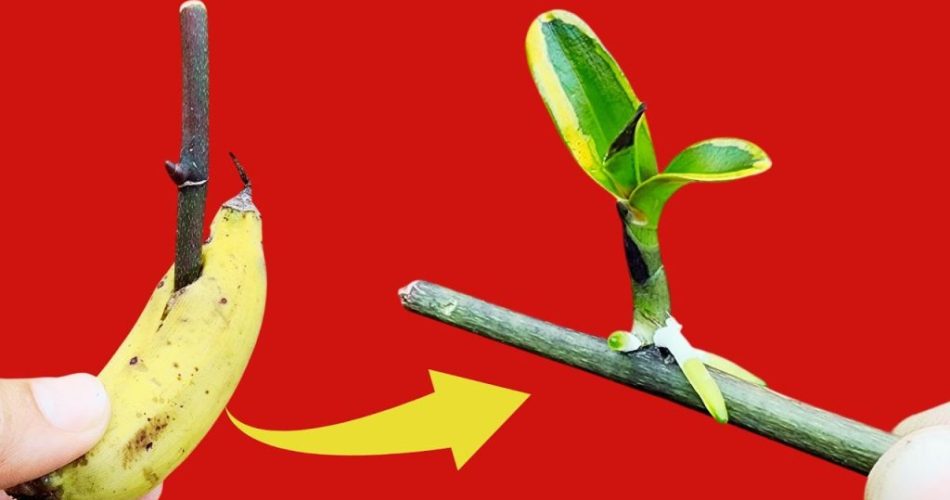
Peel a small banana and blend both the fruit and peels with a liter of water. After achieving a liquid mixture, strain and filter it into a jar. This banana-infused liquid acts as an activator for the orchid branch, which should be fully immersed in a sealed container for at least 20 minutes.
Meanwhile, in a separate container, add a teaspoon of cinnamon to a liter of boiling water. After thorough mixing and cooling, filter the concoction. This water and cinnamon blend serves as a disinfectant for the moss that will cradle your future orchid. Soak the moss in this mixture for 20 minutes, squeeze it dry, and let it air-dry on a paper towel.

Now, construct a miniature greenhouse for your orchid sprig. Cut a large water bottle, leaving one part intact for opening and closing. Place pebbles at the bottle’s base for drainage, add the moss on top, and position the orchid sprig horizontally.
Spritz it with the same water used for immersion, thoroughly moistening it. Seal the bottle to maintain humidity, regularly misting the interior. After a couple of weeks, the first shoots will emerge. Keep the sprig in the DIY greenhouse for at least two months, and soon you’ll have a plant with roots ready for planting in bark. This straightforward guide ensures a successful orchid propagation journey at home.